🐣 Baby Animals
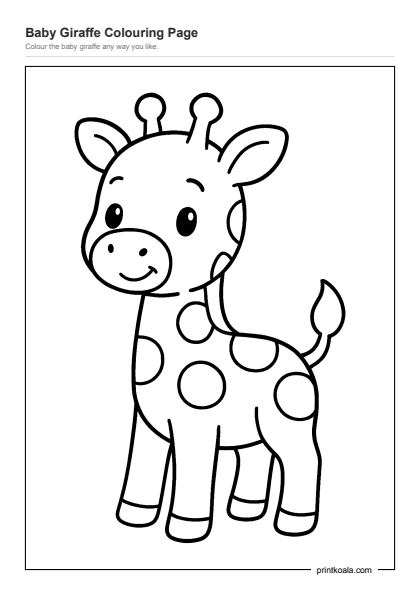
Baby Giraffe Coloring Page
Ages 2–410
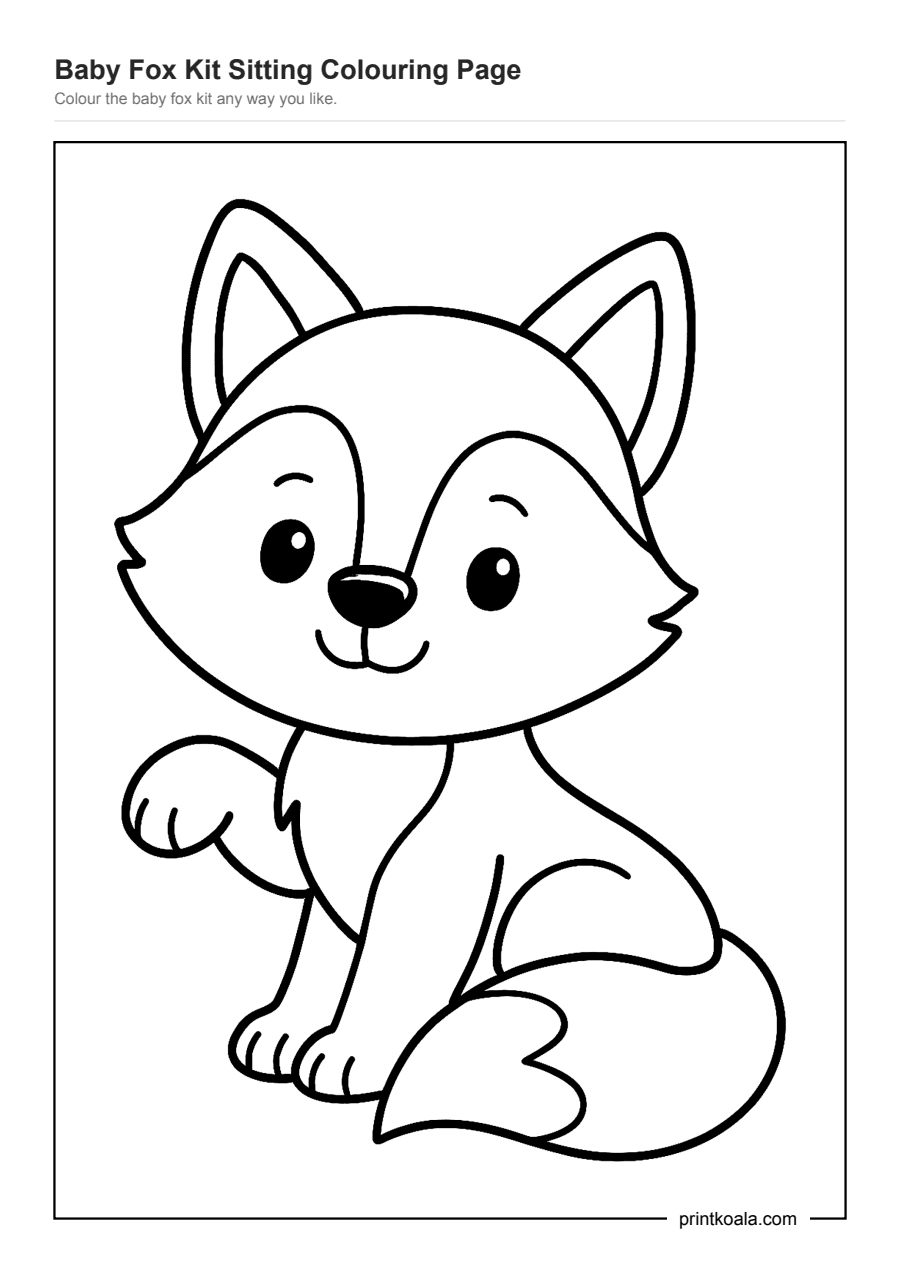
A baby fox kit sits with one paw raised in a wave, its big curled tail wrapping round its feet.
Free, no sign-up. Downloaded 7 times · A4 · Print at 100% scale
This fox kit sits back on its haunches, facing forward with its head tilted slightly and one front paw lifted, toes spread, as if waving hello. Its other paw rests flat on the ground. Two tall pointed ears frame a round face with big oval eyes, each holding a small highlight dot, a curved smile, and a small rounded nose. The body is drawn in broad, separate sections: a pale chest patch, a rounded back, and a large tail that curls forward around the fox's feet, ending in a zigzag fluffy tip.
There is very little fiddly detail here, which is exactly the point. The face has a few small parts that need a steady hand, especially the eyes and nose, but everything below the neck is made up of big, open shapes: the chest, the back, the raised paw, and that generous curled tail. A child can pick one color for the body and a second for the tail tip and chest, or go further and give the fox the classic orange-and-white fox coloring. The waving paw and open smile also give a parent something to talk about while coloring, like where the fox might be off to.
Because the shapes are large and the outlines are clean and well spaced, this sheet sits on the easier end for preschoolers, including those still learning to stay inside the lines. It works well as a first coloring page for a younger child, or as a quick, low-pressure sheet for an older one who wants to finish something in one sitting.
Start with the raised paw and face, since those have the smallest shapes, then let your child fill the tail and back last. If they go outside the lines, point out how the thick black outline still holds the picture together.