☂️ Everyday Objects
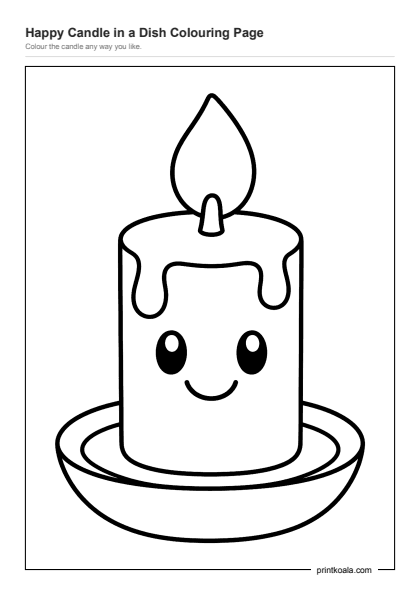
Happy Candle in a Dish Coloring Page
Ages 2–48
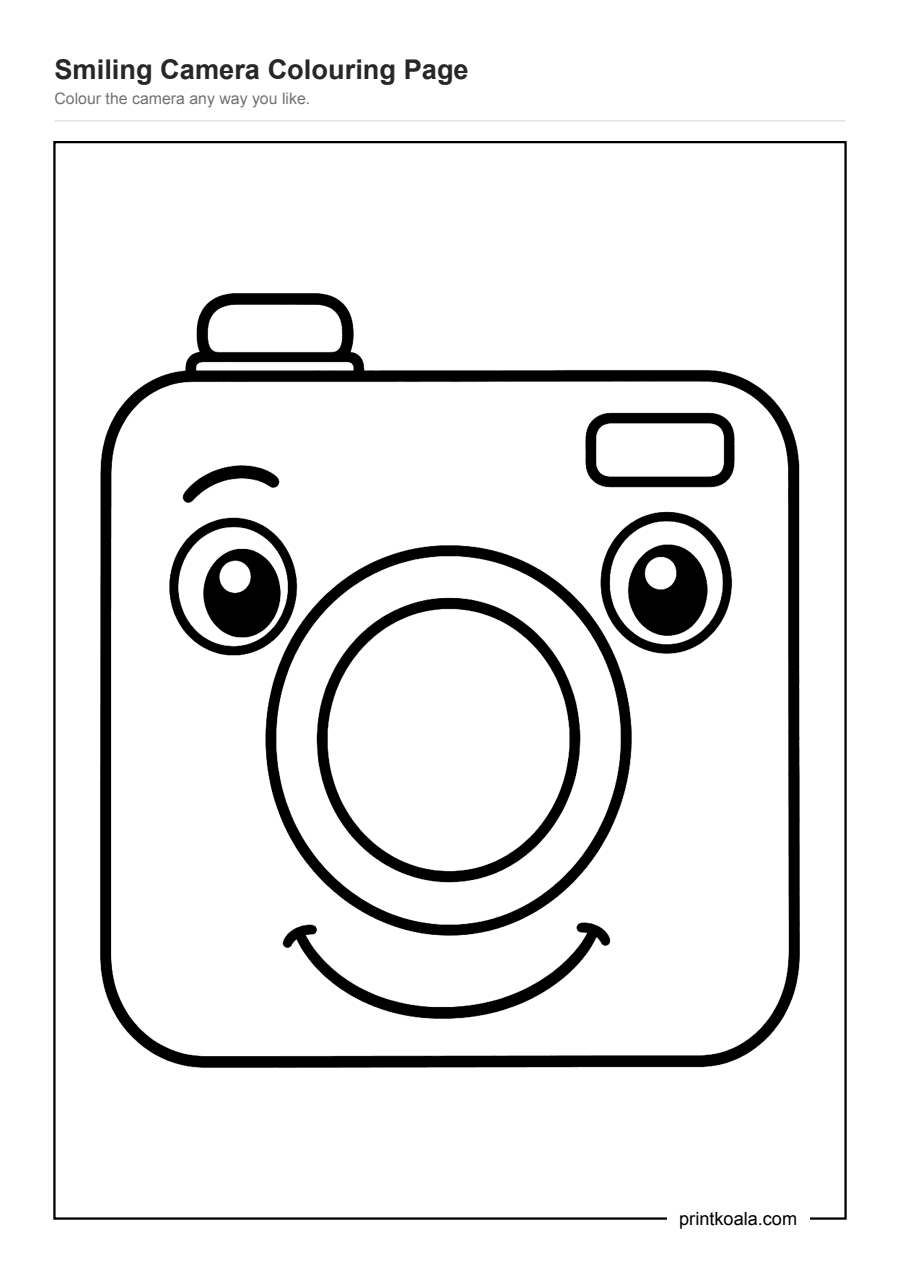
A friendly square camera with a big round lens for a nose, two wide eyes and a curved smile, plus a small shutter button and viewfinder to fill in.
Free, no sign-up. Downloaded 9 times · A4 · Print at 100% scale
This camera has been given a face: two round eyes sit above a lens drawn as two circles, one inside the other, and a curved smile stretches underneath it. One eyebrow is raised in an arch, so the camera looks like it is winking or asking a question. Up top there is a small rectangular shutter button, and a wider rectangle sits in the top corner for the viewfinder. Everything is held inside one big rounded square body, so the whole page reads as a single friendly object rather than a pile of small parts.
Most of the space here is generous. The camera body, the outer lens ring and the inner lens circle are all large enough for a preschooler to color without much steering, which makes this a good page for a child who is still working out how to stay inside a line rather than filling small gaps. The eyes, pupils, eyebrow and buttons are smaller and give slightly more careful hands something to slow down on. It is also an easy page to talk about while coloring: what color a real camera might be, what the flash button does, why this camera is smiling.
There is nothing fiddly in this drawing, no dials, straps or tiny mechanical details, so it sits on the easier end of the printable shelf. It suits younger colorers who want a quick, satisfying result, and it works just as well as a first page for a child who gets discouraged by busier drawings.
Start with the big camera body so your child gets an early win, then move to the lens rings. Save the eyes, eyebrow and small buttons for last, when their hand has settled in. If the lens rings blur together, that is fine, it still reads as a camera.